Showing posts with label tutorial. Show all posts

Wednesday, 14 March 2012

Copycat Nails...


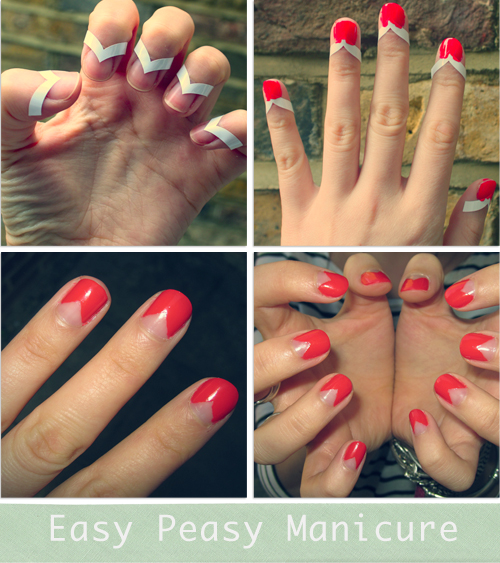
I saw this awesome nail tutorial over on Wayward Daughter and thought I'd give it a go.  I love experimenting with my nails and this manicure is so simple I thought I'd give it a go - I think they turned out pretty well.

What do you guys think?  Has anyone else found a good nail tutorial they've tried?

Speak Soon xxx
Pin It

Sunday, 25 September 2011

★ Intergalactic ★

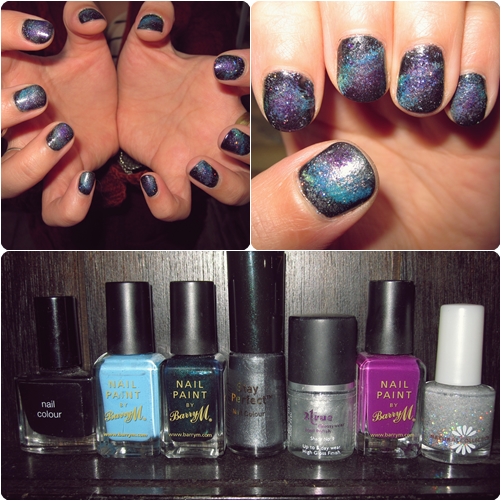
I used this tutorial here to get this look

I've been seeing 'Galaxy Nails' on every blog and youtube channel recently, it looked so simple to do that I decided to give it a whirl.   As you can see I used quite a few colours with black as my base.  The pictures don't really show how glittery and sparkly my nails are, which brings me to my DIY glittery nail polish.  It's simply clear nail polish with glitter I had lying around poured into it, it works really well.

What do you guys think?

Again it's been a busy week, I've been working my butt off, but also playing hard too.  Celebrating birthdays, boogying to Aretha Franklin in Spanish bars, making bags and attending leaving parties.  

Today I went with my ma and bro into central for lunch and a browse around the National Portrait Gallery, and to make the most of the warm day I decided to wear one of my summer dresses.


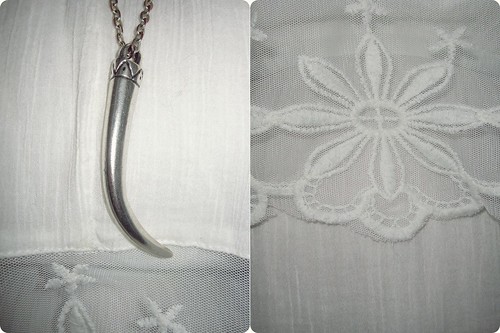
Leather Jacket - Zara | Dress - H&M | Necklace - Portobello Market | Boots - Office

Sadly though the weatherman is saying tomorrow is going to be rainy - boo!  What has everyone else been up to in the last week?

Speak Soon xxx
Pin It

Tuesday, 24 May 2011

Easy Peasy Lemon Squeezy - Notebook cover Tutorial...

I've been on the hunt for the perfect yet affordable notebook for ages, and I just haven't found any!  So I thought I would create my own....sort of.

Turn any old notebook from this.....


To This...


In 11 simple steps...


1. Your tools - Notebook you wish to cover, material of your choice, PVA (or Mod Podge), Painting Brush, Scissors, Disposable Container, Material Chalk.

2. Measure your material to size and mark where you are going to cut with your material chalk 

3. Don't forget to leave some overhang to tack around the corners of your note book.

4. Pour a PVA (enough to paint your note book with) into you disposable container.

5. Add a splash of water - about 1/4 of your PVA and mix well

6. Paint the outside of your notebook with the mixture.

7. Place your material on top of your painted notebook and slide into place, paint over your material with the PVA/Water mixture.

8. Open up your notebook and tuck the edges in, not forgetting to snip the material by the spine.  Paint the material in place.  Do the same for the other side

9. Leave to dry for about two hours.

10. You'll be left with a bit of material overhang by the spine of your notebook, paint this with your mixture.

11. Tuck these edges into the spine of the notebook with your scissors - repeat on the other side. Leave overnight to fully dry

12. Voila! Your finished custom notebook cover.

I don't think this was too shabby for my first attempt, though I think I might try it with Spray Mount glue next time as I have a few too many air bubbles for my liking, or I might try and follow THIS tutorial instead, I found it AFTER I'd finished mine - typical!


See what I mean about the bubbles?

What have you crafty creeters been up to lately?  Got any creations to share?

Speak Soon xxx

Pin It

You May Also Like...

Related Posts Plugin for WordPress, Blogger...
Beauty (7) Birthday (3) Christmas Gift Idea (4) creations (8) fancy dress (2) Festive Friday (4) food (16) Giveaway (7) hair (21) haul (1) Jubilee (1) make-up (8) nails (23) Outing (30) photography (20) ramble (32) shopping (37) style (152) travel (9) tutorial (3) vintage (7) Wednesday Wishlist (8)